Splatoonの塗りみたいのを再現したい その4
はじめに
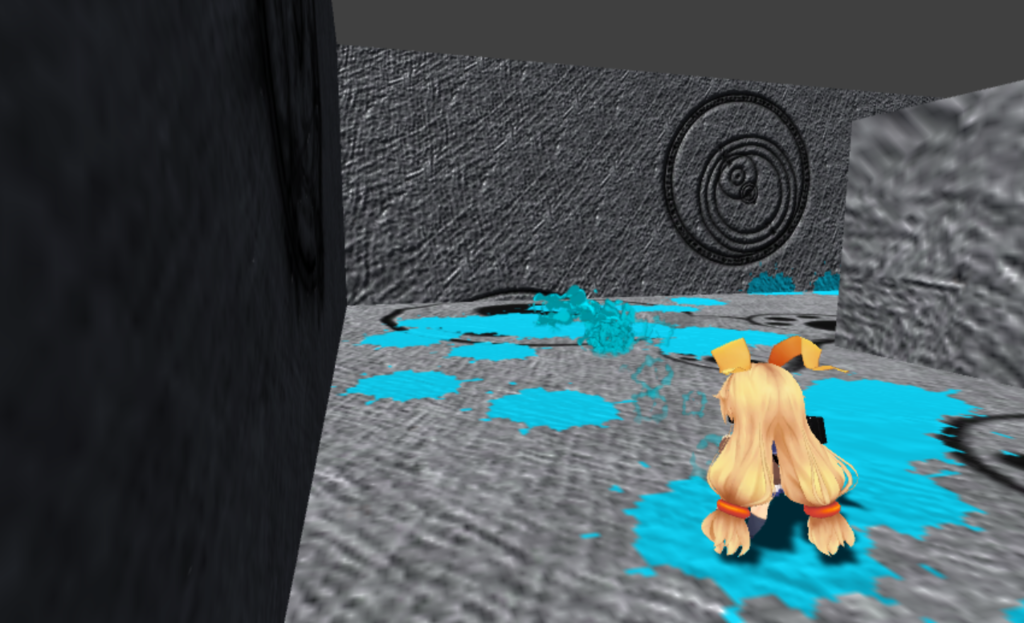
- Splatoonの塗りみたいのを再現したい その1 - しゅみぷろ
- Splatoonの塗りみたいのを再現したい その2 - しゅみぷろ
- Splatoonの塗りみたいのを再現したい その3 - しゅみぷろ
細々と実装しつつとうとうその4まで来ました。 自作した動的テクスチャペイントの公開もそろそろ出来そうな気がします。 動的テクスチャペイントの公開を渋っている理由はエラーハンドリングがまだまだ不完全だったりUXの向上を図っているためです。 そのうちアルゴリズムを詳細に解説する記事書こうと思っているのですが、公開よりこちらが先になりそうな気がします。
さて、今回実装した内容ですが
- 弾丸の実装
- プレイヤー操作の実装
となっています。テクスチャペイント全く関係ないですが、塗りをそれっぽく再現するのに必要な項目です。
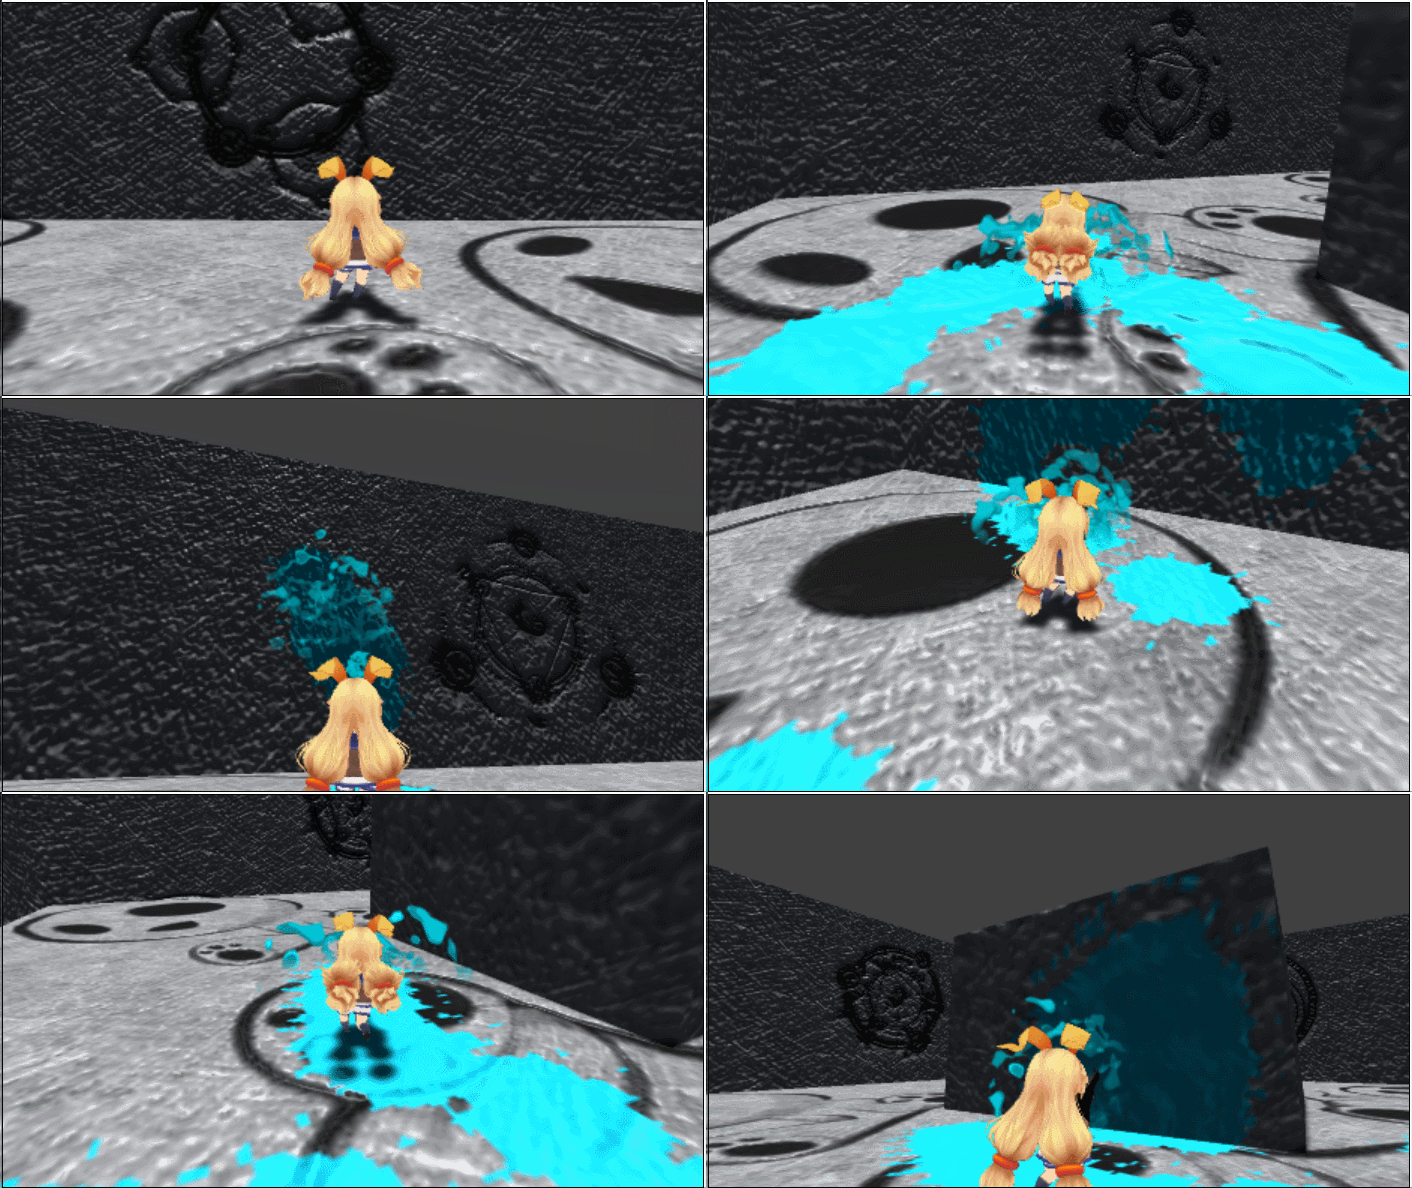
制作過程のGIFです。ちょっとはそれらしく見えるようになったでしょうか。
また、WebGLでビルドした進捗過程のゲームは以下のリンクから遊べます。
サンプルが遊べるよ!!(© UTJ/UCL)
実装
弾丸
以前の記事で紹介した着弾エフェクトを弾の発射にも用いるようにしています。
弾丸ですが、パーティクルを飛ばす感じで実装しています。
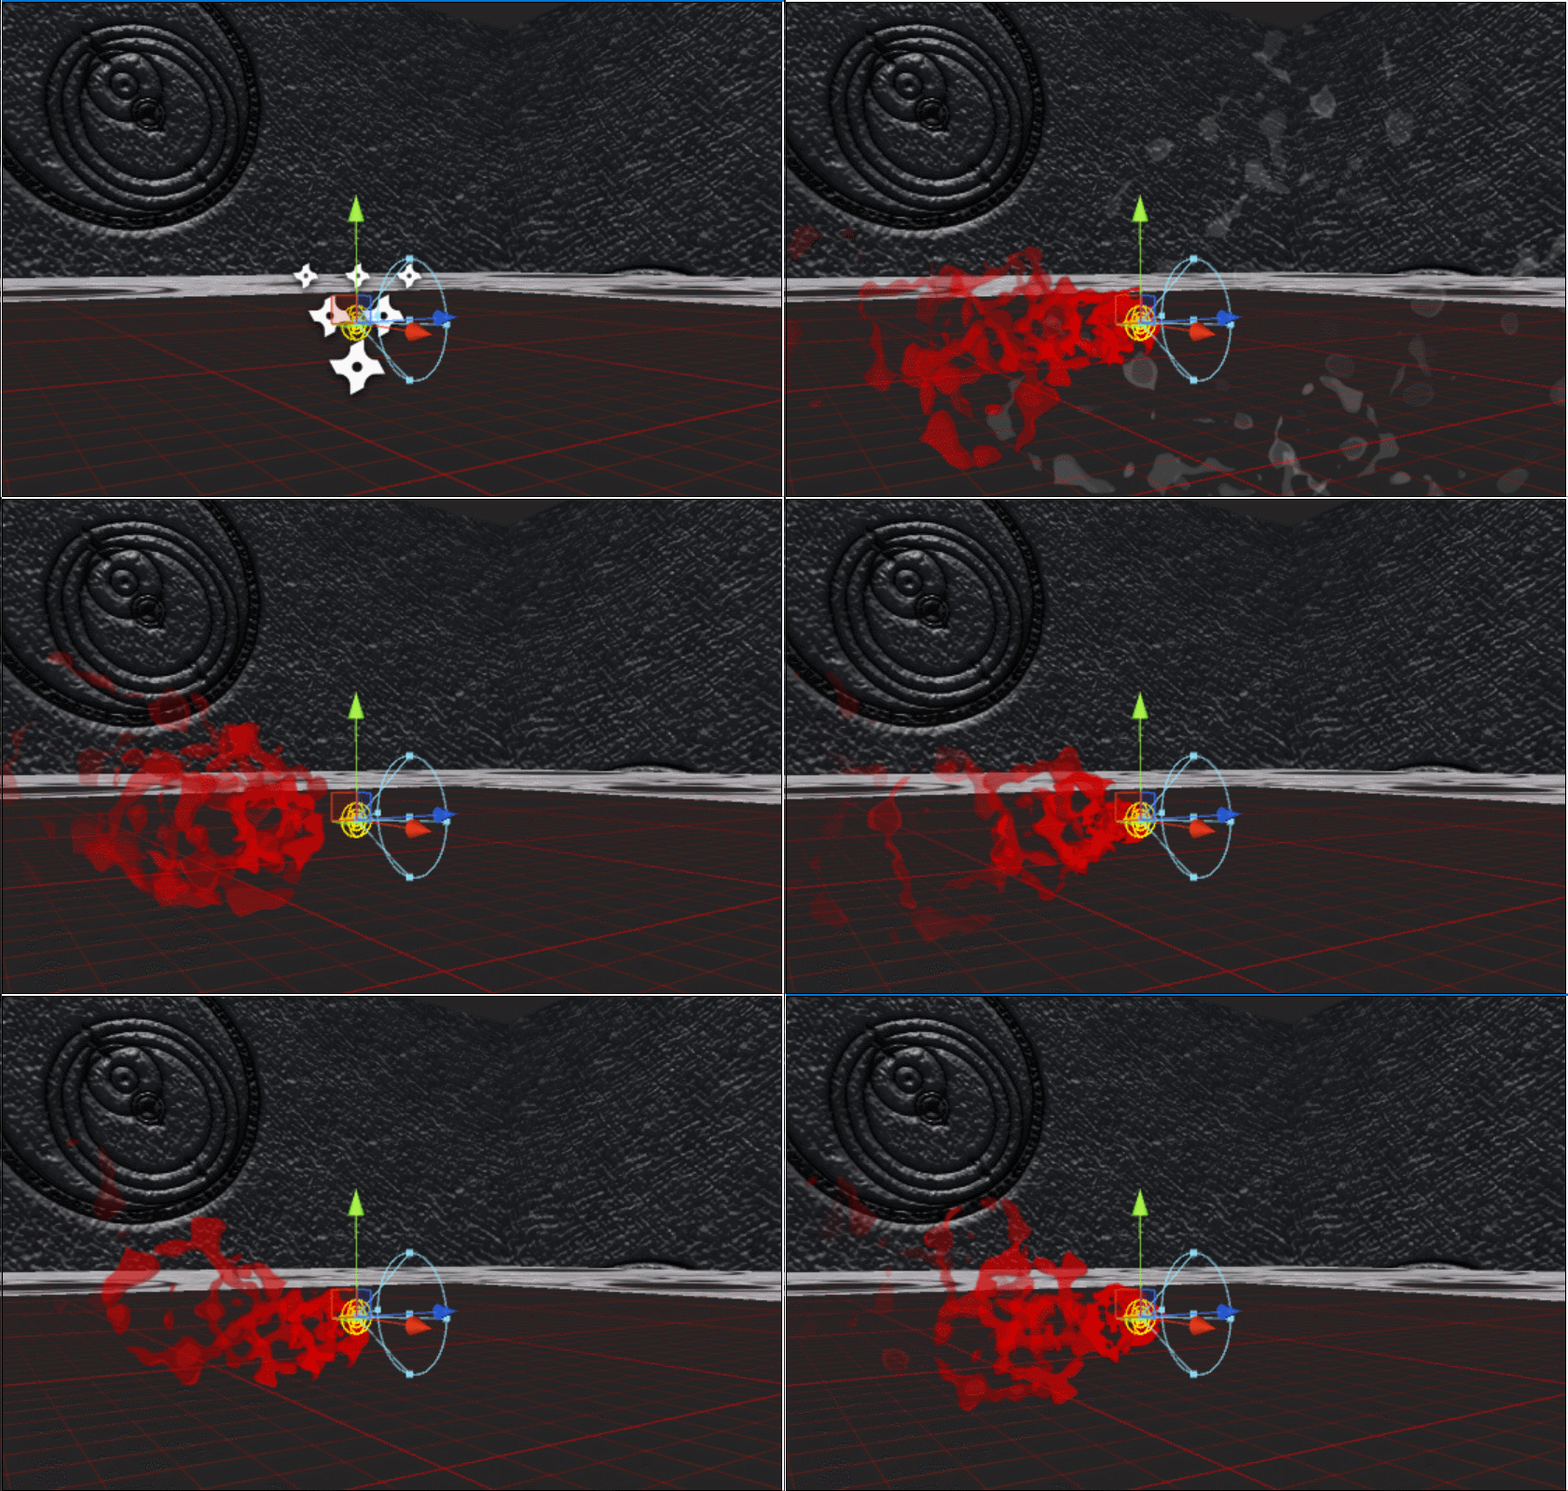
色は編集時にわかりやすくするためにつけているだけで、実行時には塗りの色にしています。このエフェクトは2つのオブジェクトで親子階層を作ることによって実現しています。Loopしない白いエフェクトは発射時の飛沫を表現していて、シミュレーションする空間はWorldSpaceにしています。Loopする赤いエフェクトは弾自体を表現していて、進行方向の逆方向(LocalSpaceでZ負方向)に対して速度を与え、飛ばしてる感じを演出しています。弾丸は指定秒数後に自動的にDestroyするようになっていて、オブジェクトに当たった際に以前作ったヒット用エフェクトを生成するようになっています。弾丸の処理は以下のようになっています。
using Es.TexturePaint;
using System.Collections;
using System.Linq;
using UnityEngine;

namespace Es
{
  [RequireComponent(typeof(Rigidbody))]
  public class Bullet : MonoBehaviour
  {
    [SerializeField]
    private GameObject hitEffectPrefab = null;

    [SerializeField]
    private float lifeTime = 5f;

    private Rigidbody rig;

    private bool hitWas;

    public Color BulletColor { get; set; }

    public void Awake()
    {
      rig = GetComponent<Rigidbody>();
    }

    public void Start()
    {
      StartCoroutine(AutoDestroy());
      var particle = GetComponentsInChildren<ParticleSystem>();
      foreach(var eff in particle)
        eff.startColor = BulletColor;
    }

    public void Update()
    {
      if(hitWas)
        return;

      RaycastHit hit;
      Ray ray = new Ray(transform.position, rig.velocity);
      if(Physics.Raycast(ray, out hit, 1f))
      {
        var paintObject = hit.transform.GetComponent<DynamicPaintObject>();
        var effectObject = Instantiate(hitEffectPrefab);
        effectObject.transform.position = hit.point;
        effectObject.transform.rotation = Quaternion.LookRotation(hit.normal);
        effectObject.GetComponent<ParticleSystem>().startColor = BulletColor;

        if(paintObject != null)
        {
          paintObject.Paint(hit);
        }
        hitWas = true;
        GetComponent<ParticleSystem>().startColor = new Color(0, 0, 0, 0);
      }
    }

    private IEnumerator AutoDestroy()
    {
      yield return new WaitForSeconds(lifeTime);
      Destroy(gameObject);
    }
  }
}
プレイヤー
プレイヤーはヒエラルキー上で以下の様な階層になっています。
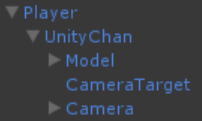
プレイヤーの方向転換によるカメラの追従は親子関係にすることで簡易的に解決しています。カメラワークについては後ほど記述するとして、この階層関係を踏まえたうえでプレイヤーのスクリプトは以下の様な感じになりました。
using System.Collections;
using UnityEngine;

namespace Es
{
  [RequireComponent(typeof(Animator))]
  public class PlayerController : MonoBehaviour
  {
    [SerializeField]
    private Transform cam = null;

    [SerializeField]
    private Color bulletColor = default(Color);

    [SerializeField]
    private GameObject bulletPref = null;

    [SerializeField]
    private Transform instantiatePos = null;

    [SerializeField]
    private float power = 10;

    [SerializeField]
    private float moveSpeed = 5;

    [SerializeField]
    private float rotateSpeed = 180;

    private int waitCount;
    private Animator anim;

    public void Awake()
    {
      anim = GetComponent<Animator>();
    }

    private void Update()
    {
      #region Fire

      --waitCount;

      if(Input.GetButton("Fire1") && waitCount < 0)
      {
        waitCount = 8;
        var obj = Instantiate(bulletPref);
        obj.GetComponent<Bullet>().BulletColor = bulletColor;
        obj.transform.position = instantiatePos.position;
        obj.transform.rotation = Quaternion.LookRotation(cam.transform.forward);
        var rig = obj.GetComponent<Rigidbody>();
        rig.AddForce(cam.transform.forward * power);
      }

      #endregion Fire

      #region Move

      var horizontal = Input.GetAxis("Horizontal");
      var vertical = Input.GetAxis("Vertical");

      transform.Rotate(transform.up, horizontal * rotateSpeed * Time.deltaTime);
      transform.Translate(transform.forward * vertical * moveSpeed * Time.deltaTime, Space.World);
      anim.SetFloat("Translate", Mathf.Abs(vertical));

      #endregion Move
    }
  }
}
普通のキャラ移動用のスクリプトな感じです。
カメラ
カメラはマウスの移動である程度の閾値の範囲を見渡せるようにしました。
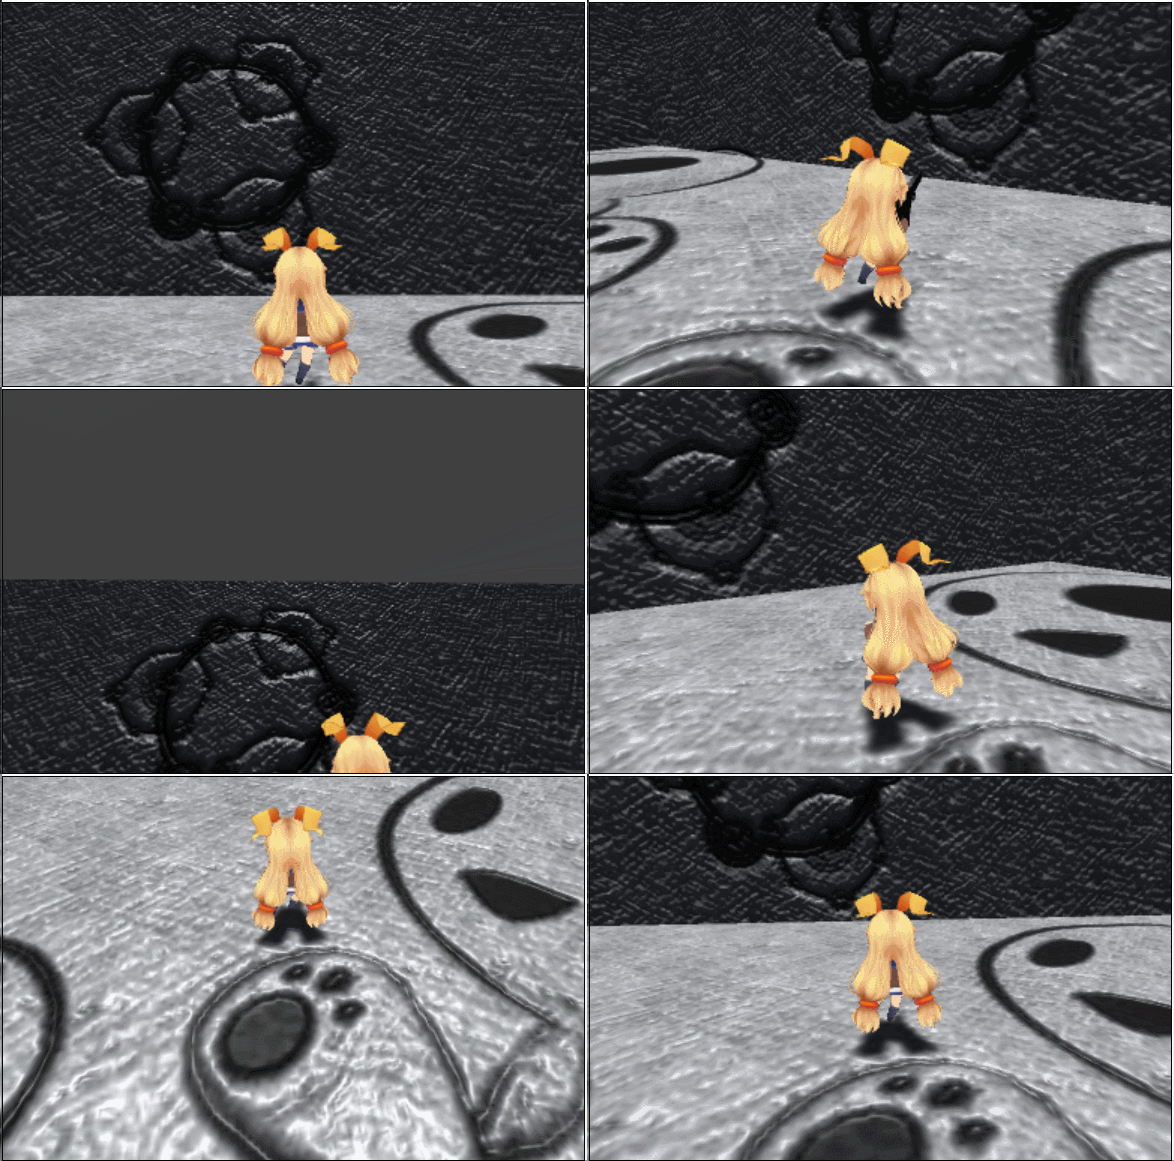
マウスのX,Y移動量を一定範囲内に丸め込みながら保存しておき、この移動量に応じてカメラの前方向ベクトルと移動量を考慮したベクトルを保管し、この方向へスムーズに移動するようにしています。また、移動量に応じてカメラ位置も多少自然に見える範囲で移動するように調整しています。
using System.Collections;
using UnityEngine;

namespace Es
{
  [RequireComponent(typeof(Camera))]
  public class CameraControl : MonoBehaviour
  {
    [SerializeField]
    private Transform cameraDefaultPos = null;

    [SerializeField]
    private Transform target = null;

    [SerializeField]
    private float mouseSpeed = 3;

    [SerializeField, Range(0, 1)]
    private float transferLerp = 0.1f;

    [SerializeField, Range(0, 10)]
    private float cameraMoveRangeMinY = 5;

    [SerializeField, Range(0, 10)]
    private float cameraMoveRangeMaxY = 5;

    [SerializeField, Range(0, 10)]
    private float cameraMoveRangeMinX = 5;

    [SerializeField, Range(0, 10)]
    private float cameraMoveRangeMaxX = 5;

    [SerializeField, Range(1, 10)]
    private float repositionY = 2;

    [SerializeField, Range(1, 10)]
    private float repositionX = 2;

    private float y;
    private float x;

    public void Awake()
    {
      Cursor.lockState = CursorLockMode.Locked;
    }

    private void Update()
    {
      var mouseY = Input.GetAxis("Mouse Y") * Time.deltaTime * mouseSpeed;
      var mouseX = Input.GetAxis("Mouse X") * Time.deltaTime * mouseSpeed;

      y = Mathf.Clamp(y + mouseY, -cameraMoveRangeMinY, cameraMoveRangeMaxY);
      x = Mathf.Clamp(x + mouseX, -cameraMoveRangeMinX, cameraMoveRangeMaxX);

      var vector = (target.position - transform.position + Vector3.up * y).normalized;

      transform.rotation = Quaternion.LookRotation(Vector3.Lerp(transform.forward, vector, Vector3.Dot(transform.forward, vector) * transferLerp));

      var reposition = cameraDefaultPos.position + Vector3.up * -y / repositionY - transform.right * x / repositionX;
      transform.position = Vector3.Lerp(transform.position, reposition, transferLerp);
    }
  }
}
ベクトルの補完係数に2つの方向ベクトルの内積を用いています。こうすることでカメラの移動の滑らかさがぐっと上がります。